Installation
 |
| Case Compatible + Premium Armband |
|
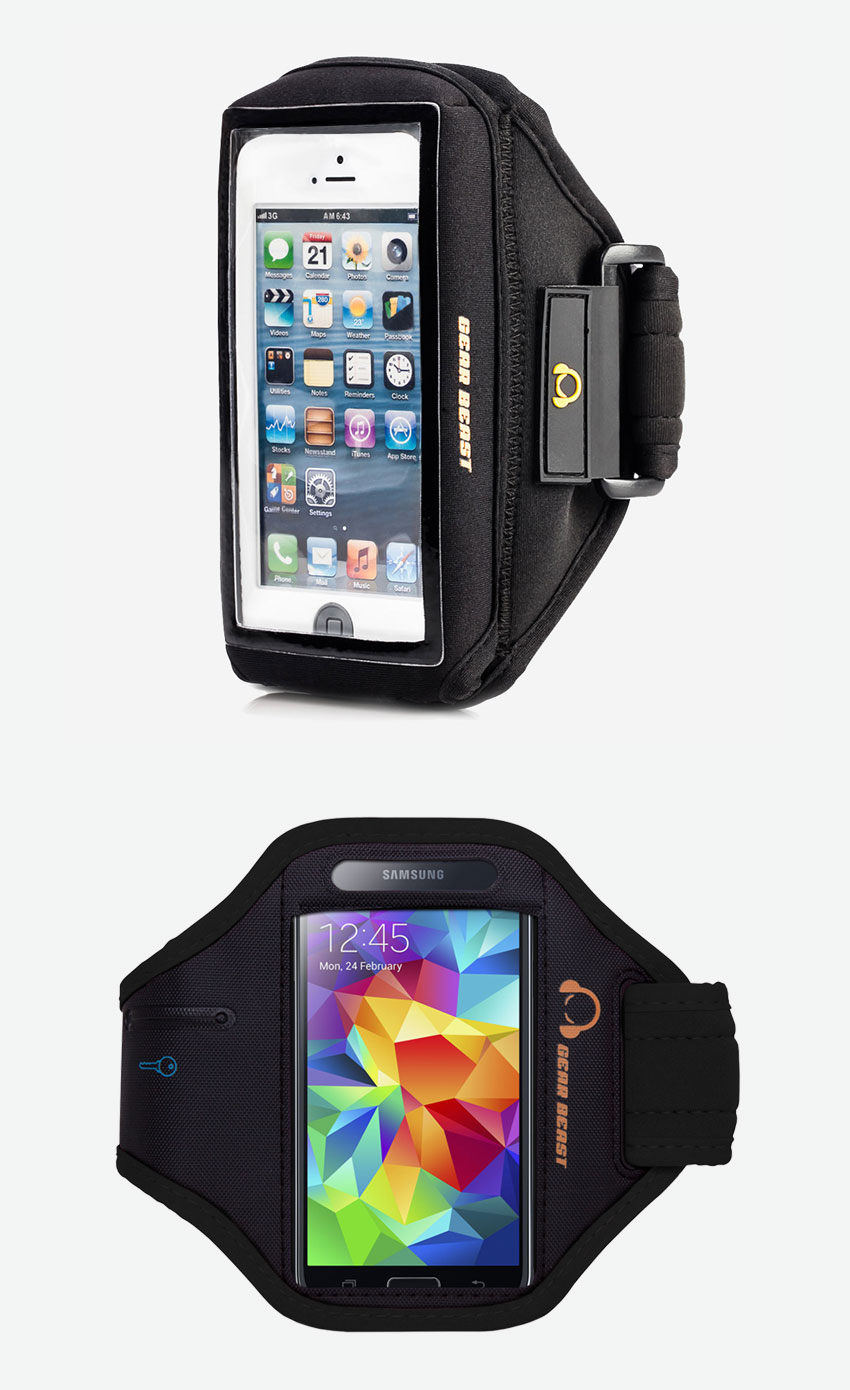
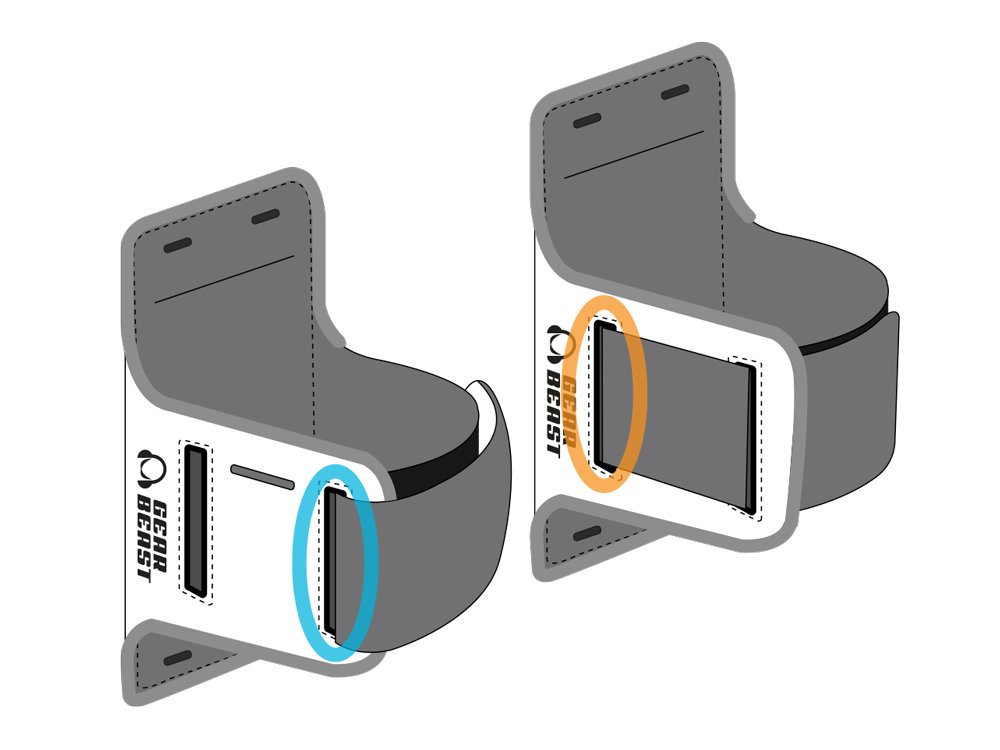
The Gear Beast Case Compatible Armband is designed to be worn on the upper arm. Slide the armband onto your arm, adjust the armband strap so it fits comfortably on your arm. Secure it in place with the Velcro tab. Ensure it is tight enough so the armband does not slide off your arm. Be sure not to secure the strap too tightly as this may impede circulation. |
| Using the Armband Extender |
 |
| Deluxe Armband |
|
The Gear Beast Deluxe Armband is designed to be worn on the upper arm. Slide the armband onto your arm, adjust the armband strap so it fits comfortably on your arm. Secure it in place with the Velcro tab. Ensure it is tight enough so the armband does not slide off your arm. Be sure not to secure the strap too tightly as this may impede circulation. |
 |
| GearFolio Case |
|
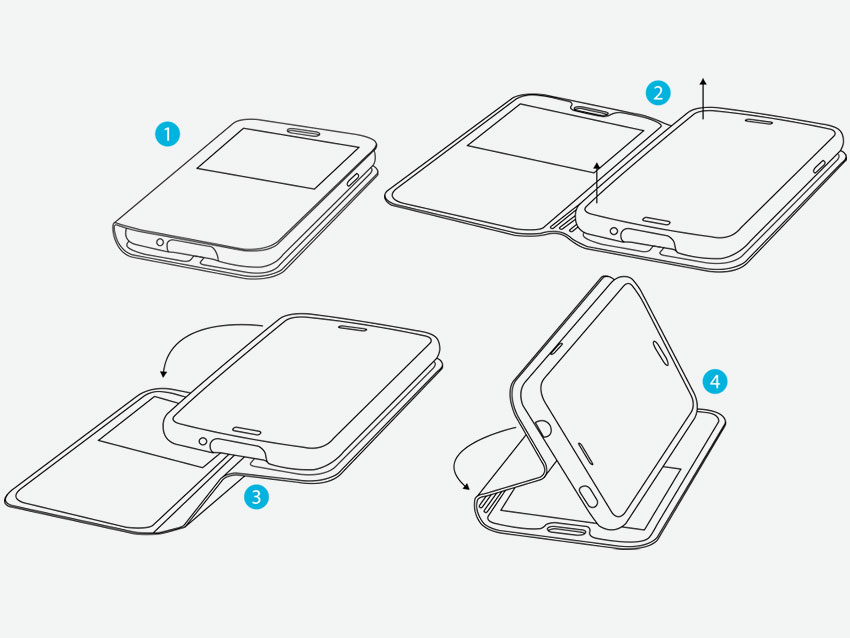
Gear Beast GearFolio Cases allow you to easily watch videos or play games by utilizing the built in stand. Carefully follow the instructions below to convert your case into a viewing station |
 |
| GearJelly Case |
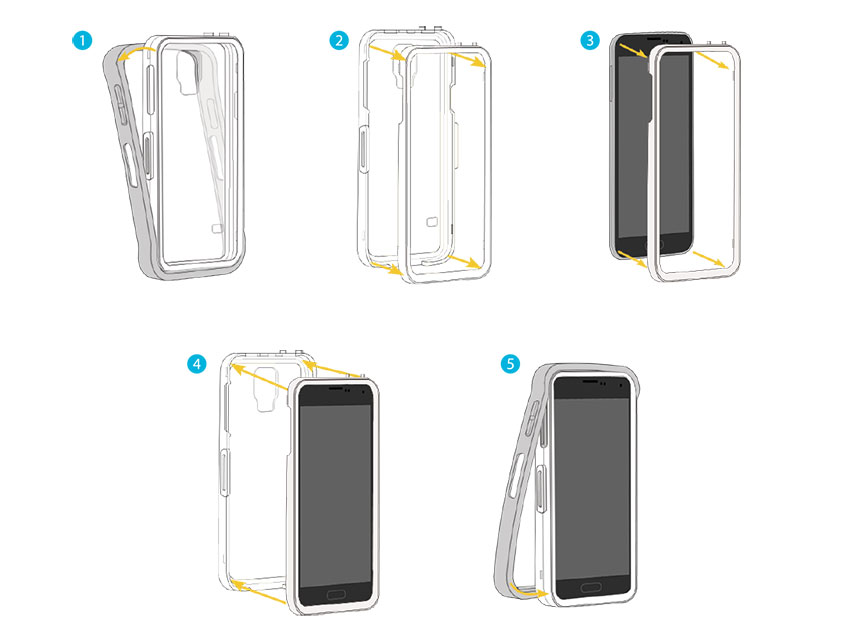
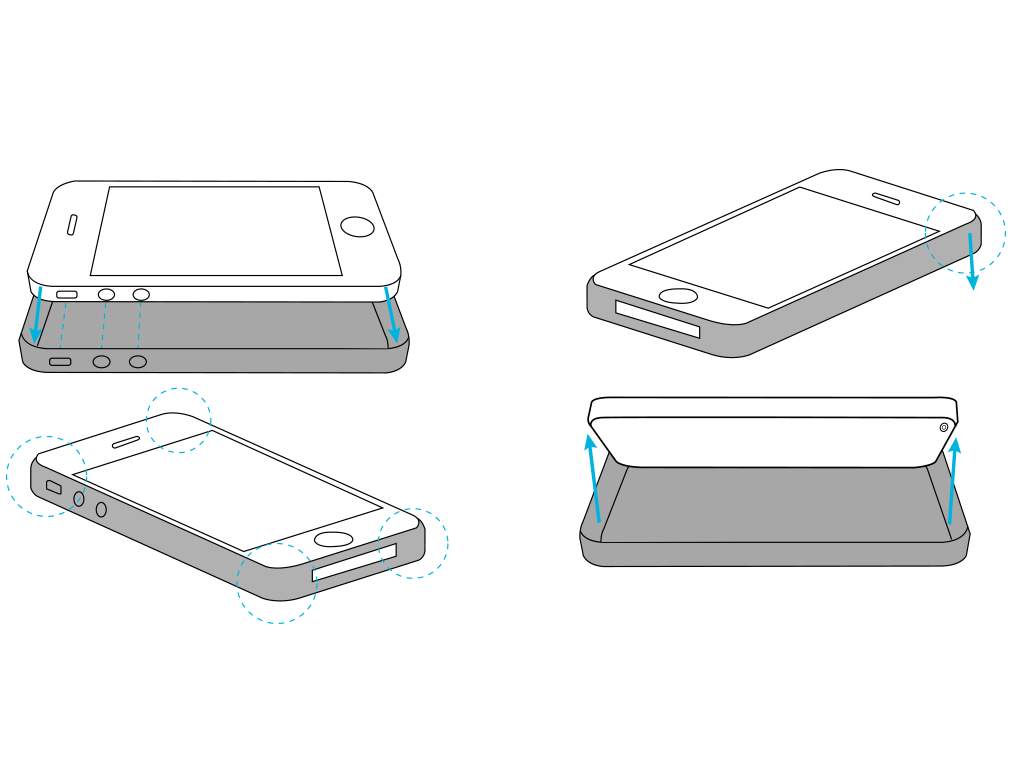
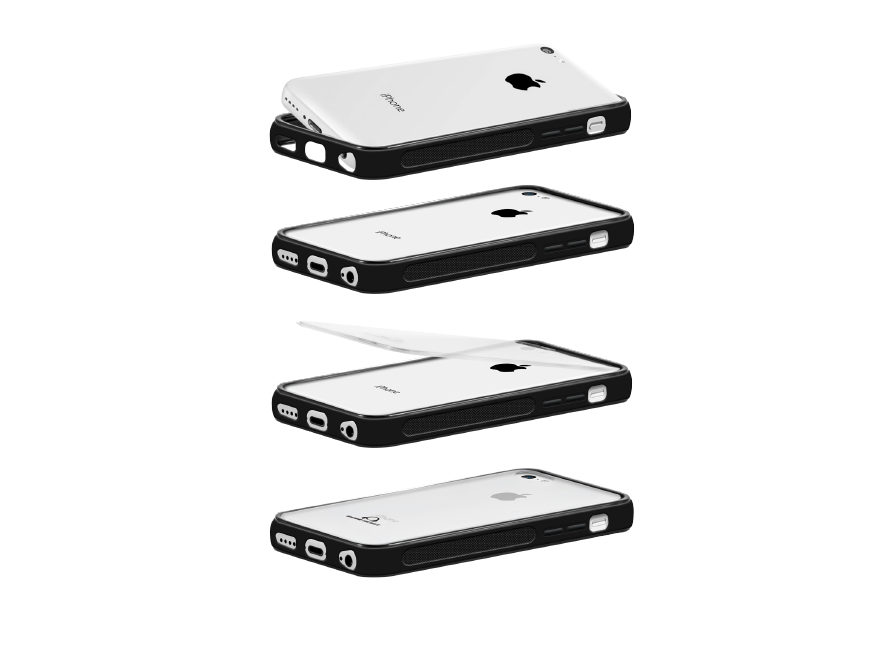
Installing The Case
|
 |
| GearShield Case | ||
|
 |
| GearView Case |
|
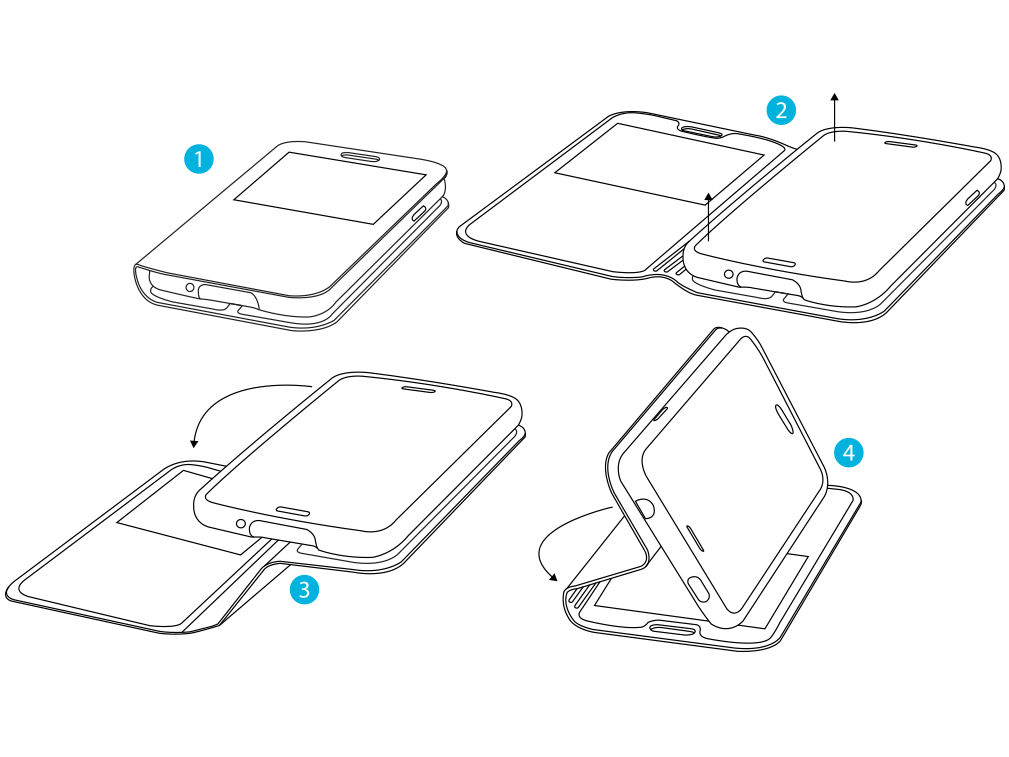
Gear Beast GearView Cases allow you to easily watch videos or play games by utilizing the built in stand. Carefully follow the instructions below to convert your case into a viewing station
|
 |
| Bike Mount (Step 1 of 5) |
|
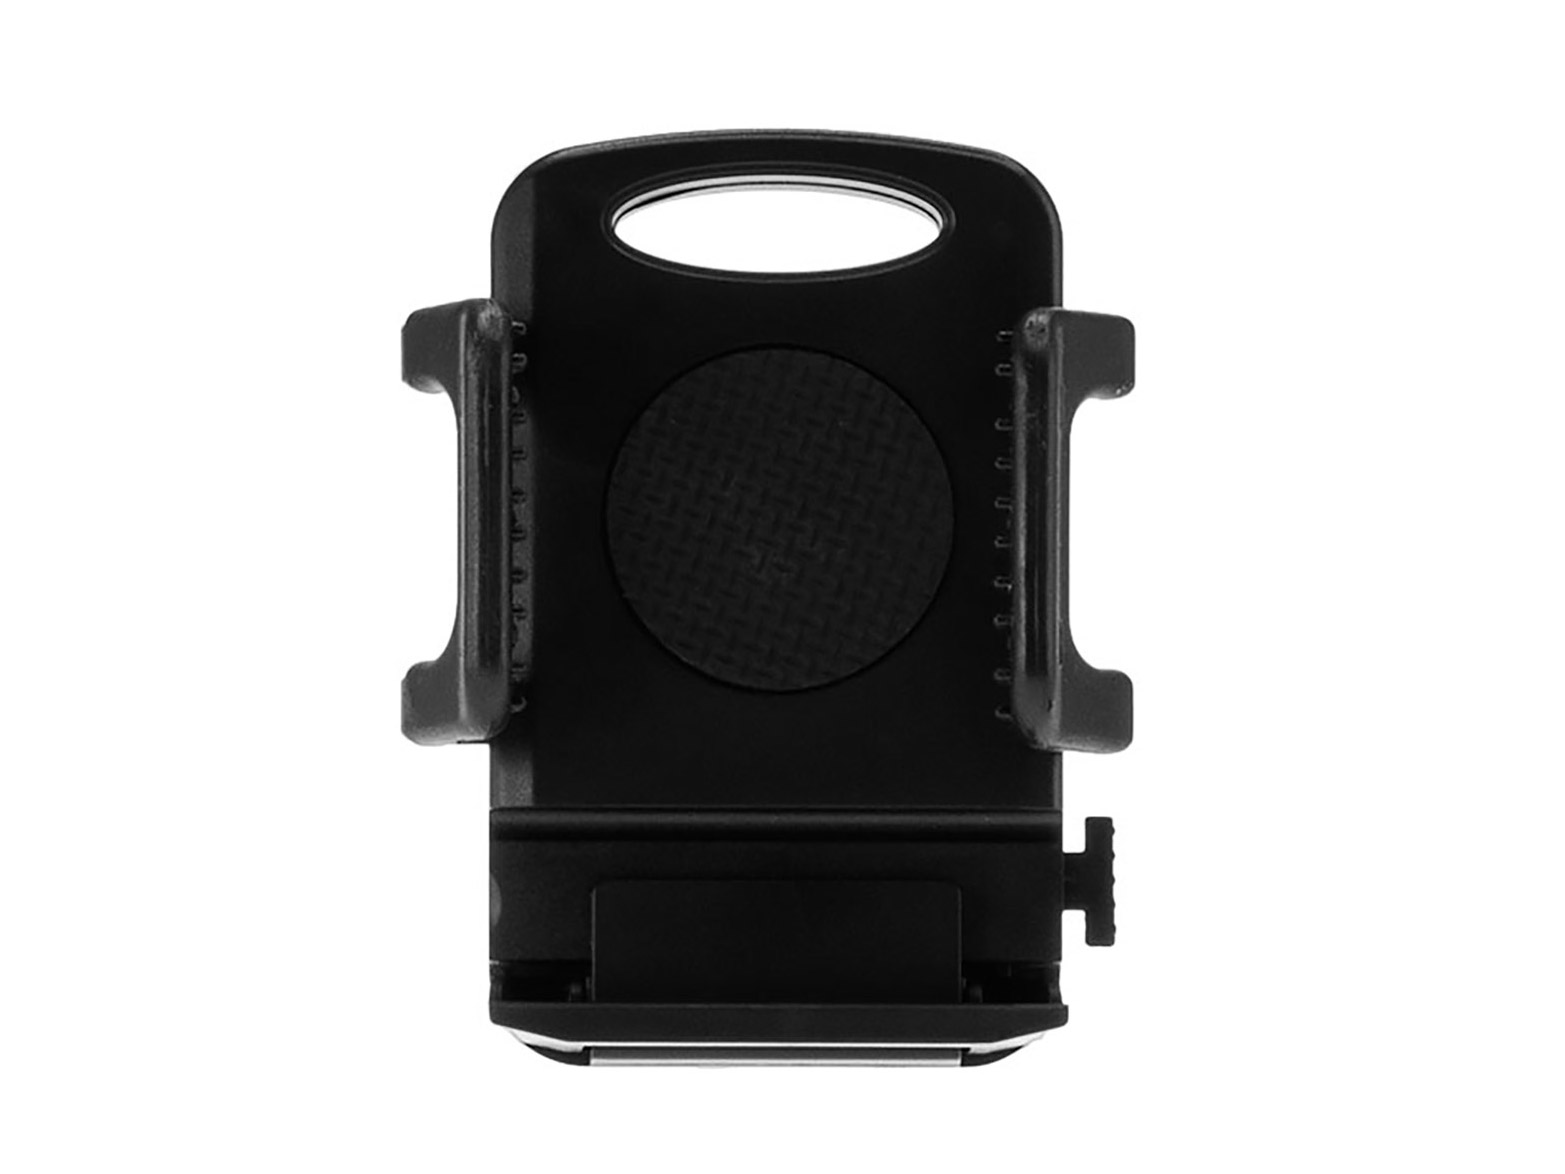
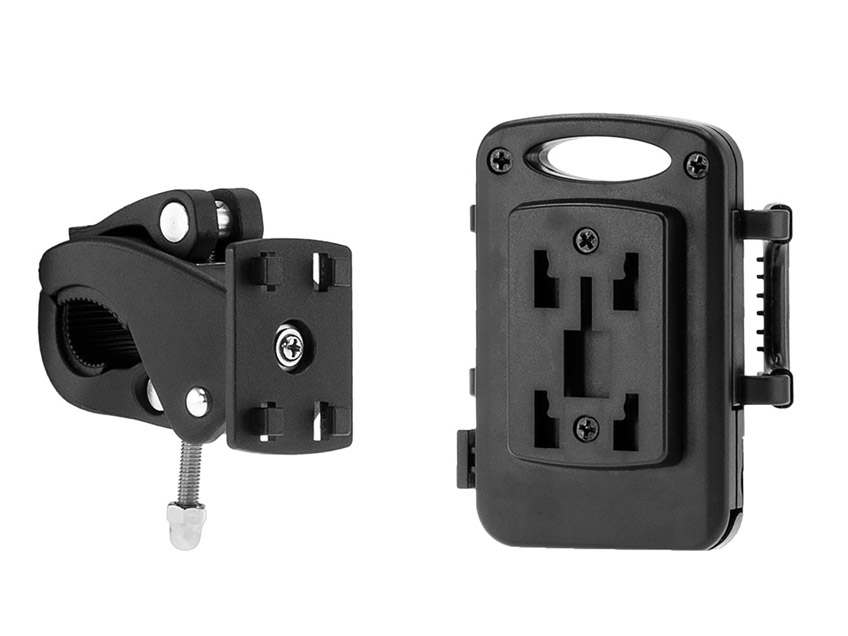
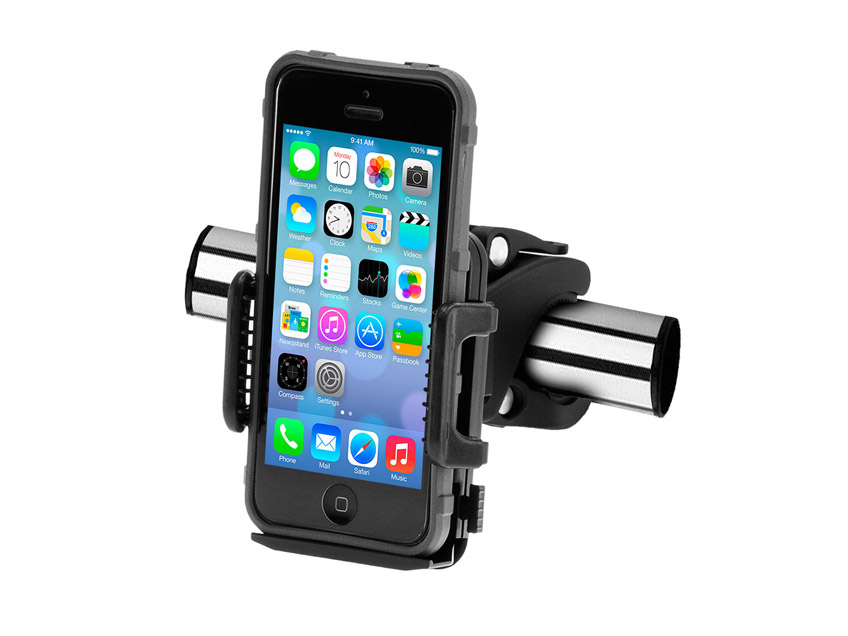
Attach phone cradle to the mounting bracket by positioning the widest portion of four slots on the back of the cradle with the four L- shaped plastic poles on the face of the mounting bracket. Place thumb at bottom of the mounting bracket and push up firmly until poles slide into narrow part of slots. You should hear a snap or click. |
 |
| Bike Mount (Step 2 of 5) |
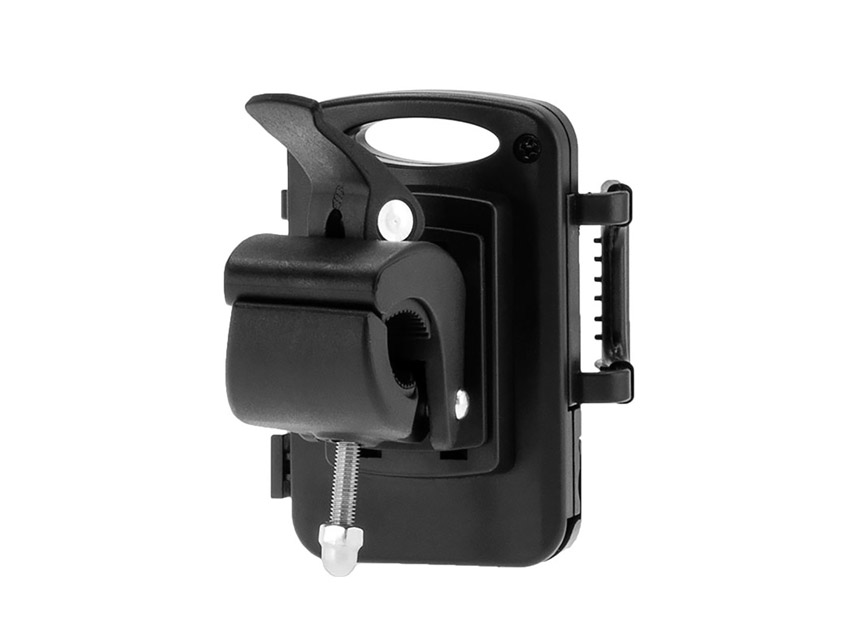
| Find a safe location on the bicycle handlebar (or stroller push bar). Flip the quick release lever to the open position (picture 2) and turn counter-clockwise until clamp is open wide enough to fit on handlebar. |
 |
| Bike Mount (Step 3 of 5) |
|
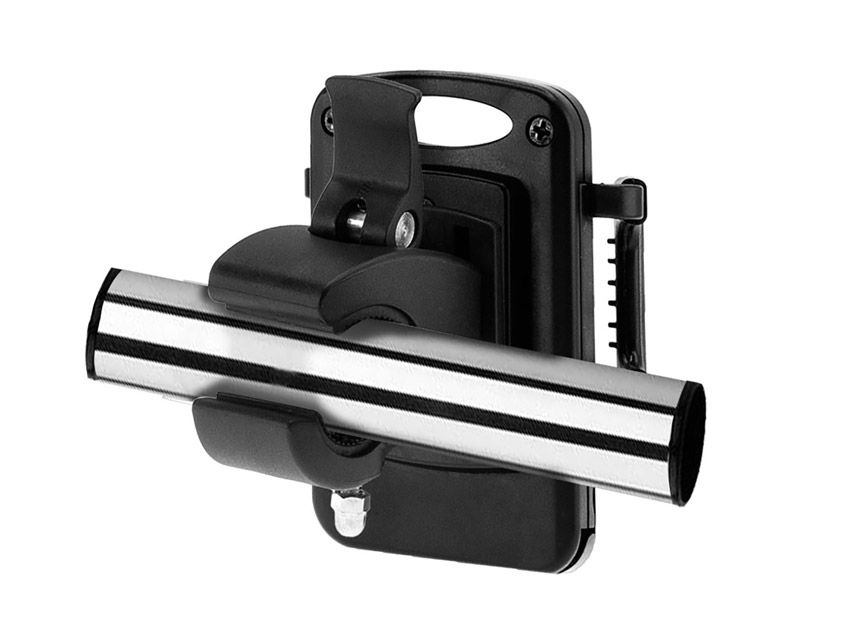
Once correctly positioned turn quick release lever clockwise until almost fully tightened (around 1 turn from fully tightened). Close quick release lever (picture 3). It should take moderate effort to close quick release. If too easy, open lever and turn clockwise another ½ to 1 full turn. If too hard, open lever and turn counter-clockwise ½ to 1 full turn. |
 |
| Bike Mount (Step 5 of 5) |
|
Remove mobile device and close restraining rails. For safety reasons, do not remove mobile device from cradle or try to re-install while bicycle (or stroller) is in motion. |
 |
| Tablet Headrest Mount (Step 1 of 6) |
|
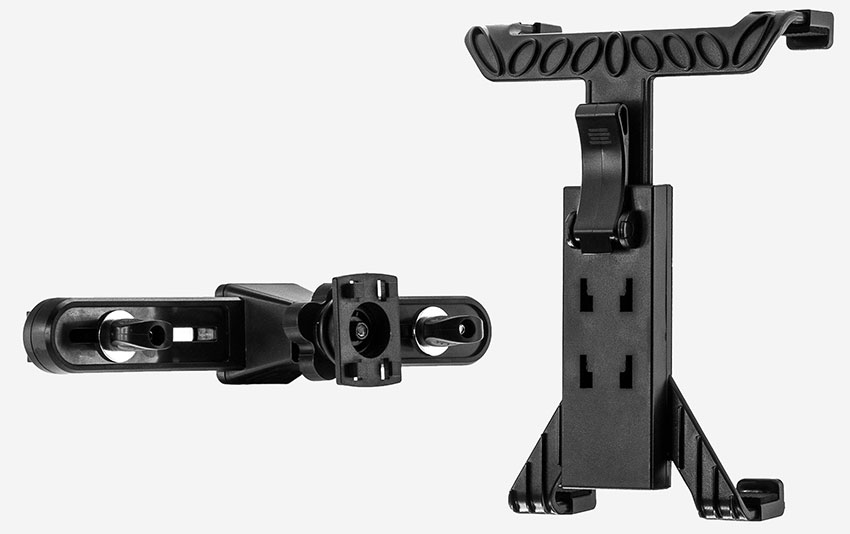
Attach tablet cradle to the mounting bracket by positioning widest portion of four slots on the back of the cradle with the four L- shaped plastic poles on the face of the mounting bracket. Make sure tilt adjustment is locked by turning clockwise. Place thumb at top of mounting bracket and push down firmly until poles slide into narrow part of slots. You should hear a snap or click. |
 |
| Tablet Headrest Mount (Step 2 of 6) |
|
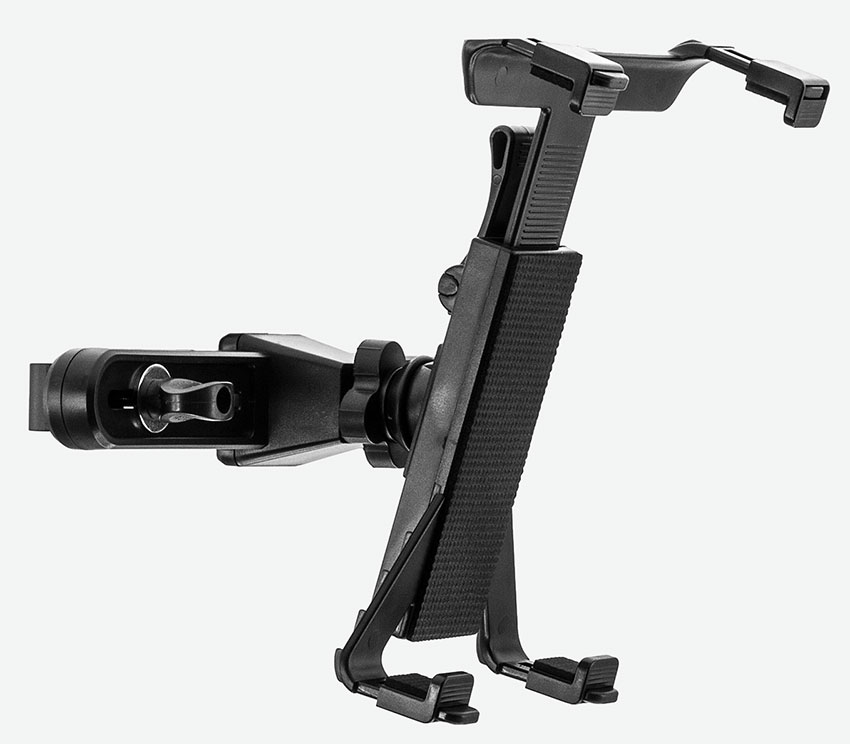
Turn tilt adjustment clockwise to open and adjust to desired tilt. Once desired tilt established, turn counter-clockwise to tighten. This step can be done before or after tablet installed but easier to do without tablet in place. |
 |
| Tablet Headrest Mount (Step 3 of 6) |
|
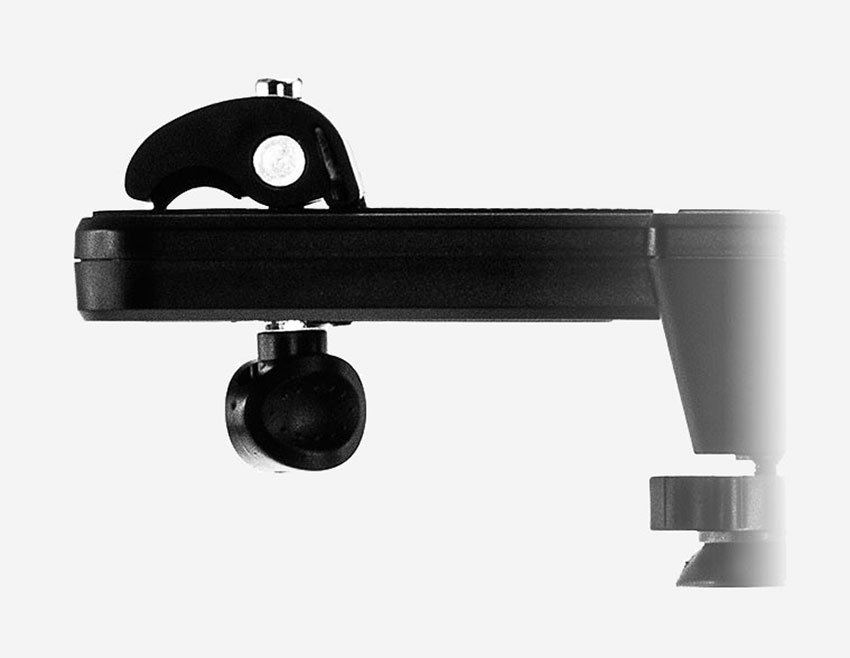
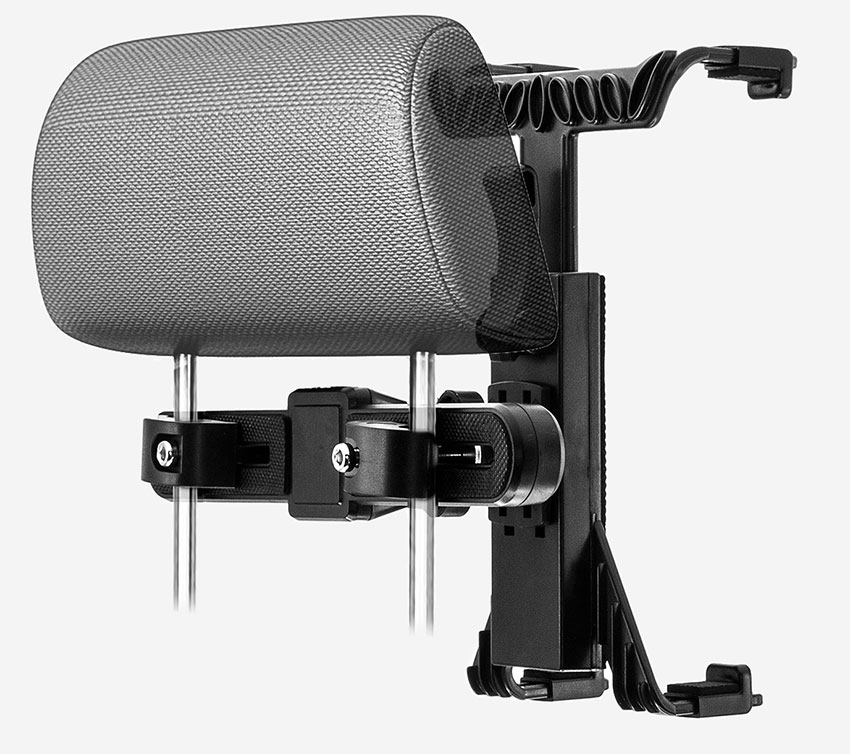
Find a safe location on the headrest. Turn mounting screws counter-clockwise until clamps are open wide enough to fit on each of the headrest posts. |
 |
| Tablet Headrest Mount (Step 4 of 6) |
|
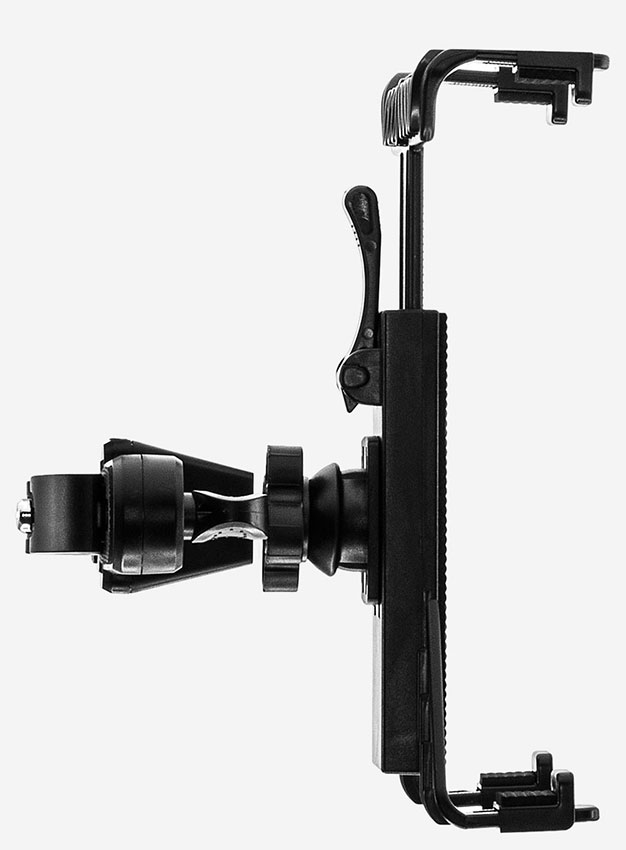
Position mounting bracket between headrest posts and slide clamps outward until clamps fit around each post (each clamp should be roughly the same distance from center of mounting bracket). Turn mounting screws clockwise to tighten. |
 |
| Tablet Headrest Mount (Step 5 of 6) |
|
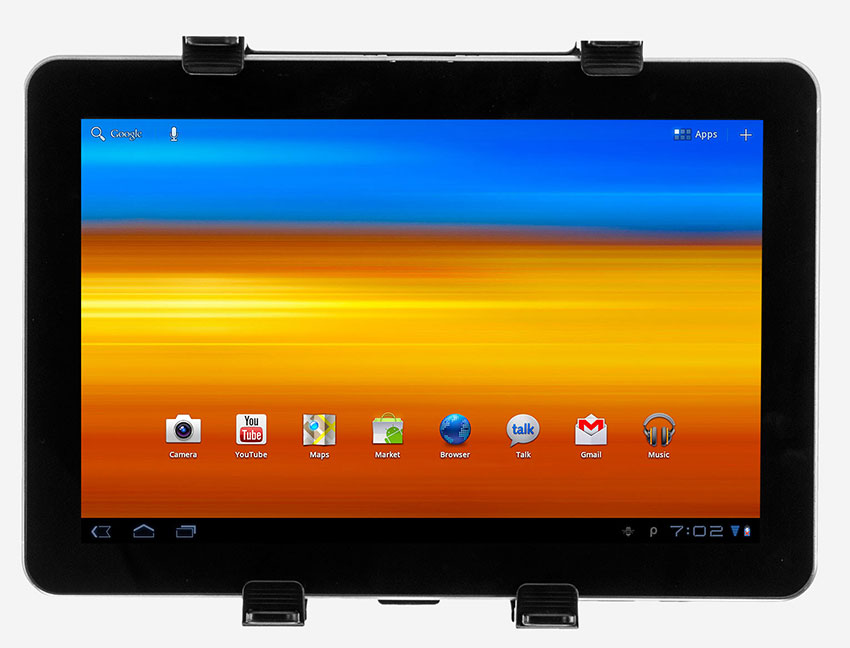
Flip cradle locking lever to open position and adjust height of cradle by pulling up on the arms of cradle (the wider portion of the cradle are the arms and should be positioned above your tablet. Conversely, the narrow portion are the feet and should be below your tablets when mounted) to accommodate tablet. |
 |
 |
| Air Vent Mount (Step 2 of 6) |
|
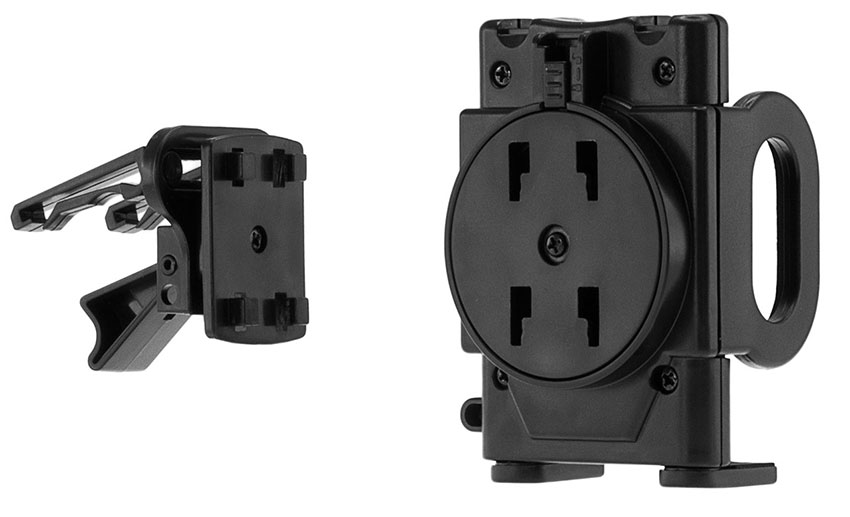
Attach phone cradle to the mounting bracket by positioning widest portion of four slots on the back of the cradle with the four L- shaped plastic poles on the face of the mounting bracket. Place thumb at top of mounting bracket and push down firmly until poles slide into narrow part of slots. You should hear a snap or click. |
 |
| Air Vent Mount (Step 3 of 6) |
|
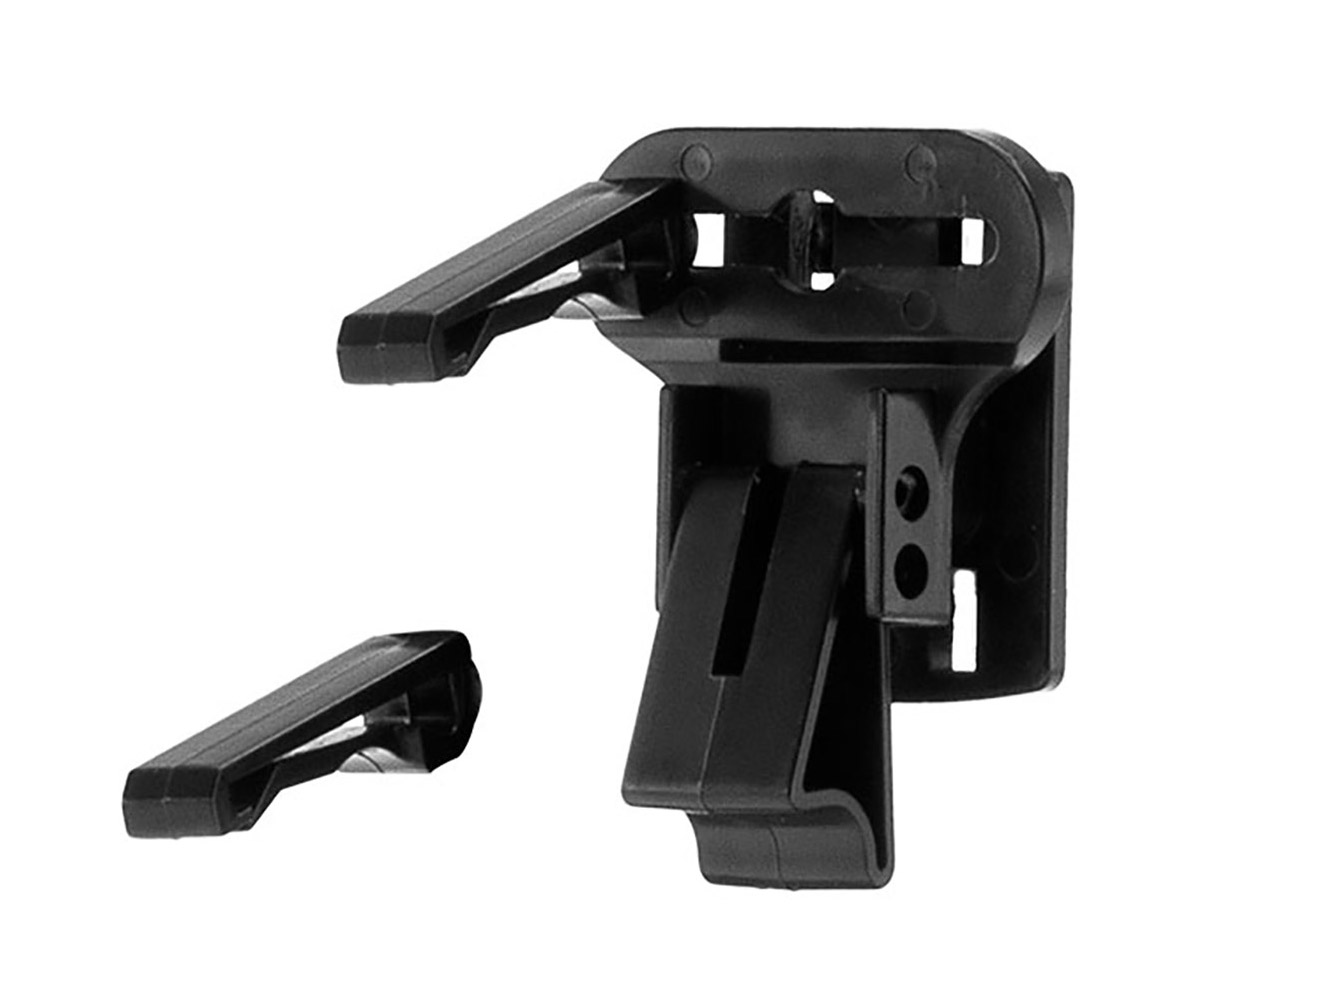
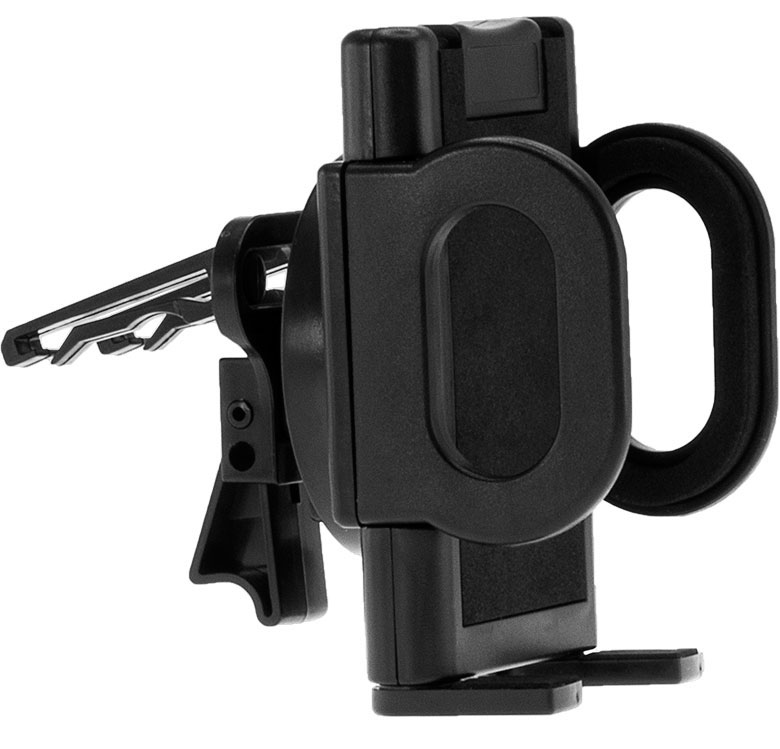
Find a safe location* on the vehicle vent. While holding the vent louvers, gently ease the mounting clips into the vent louvers until mount clips are attached to the fin/blade of the vent. Try fitting the clips on the vent louvers with the flat end on top. If they don’t fit twist the clips over and retry the fitting. |
 |
| Air Vent Mount (Step 4 of 6) |
|
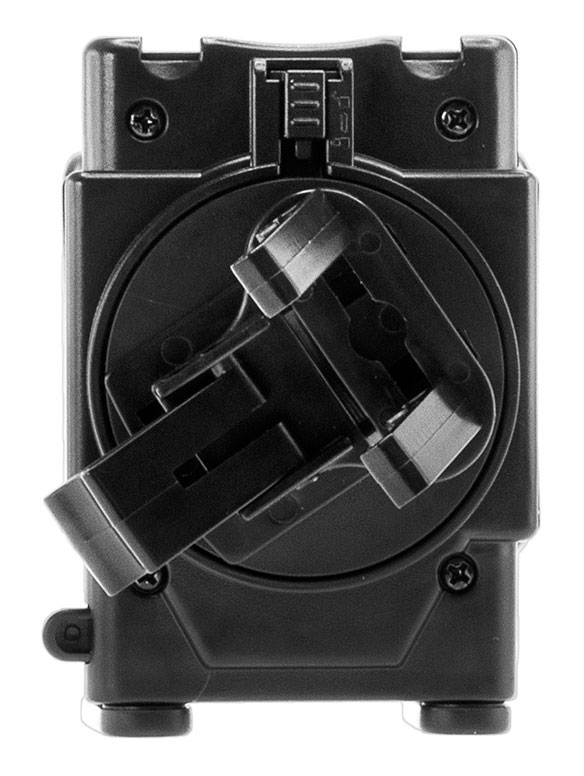
Adjust cradle positioning by unlocking circular adjustment wheel on back of cradle and twisting clockwise or counter-clockwise until cradle is adjusted to desired position. Lock adjustment wheel back into place before placing mobile device in mount. |
 |
| Air Vent Mount (Step 5 of 6) |
|
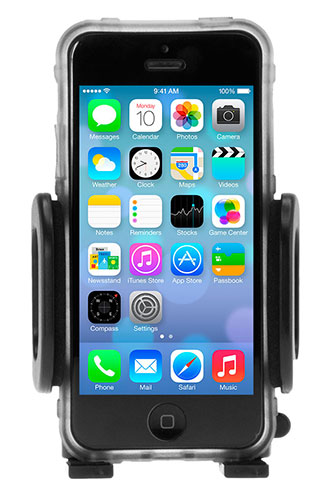
Depress button on lower right side of cradle to open cradle rails to maximum width. |

